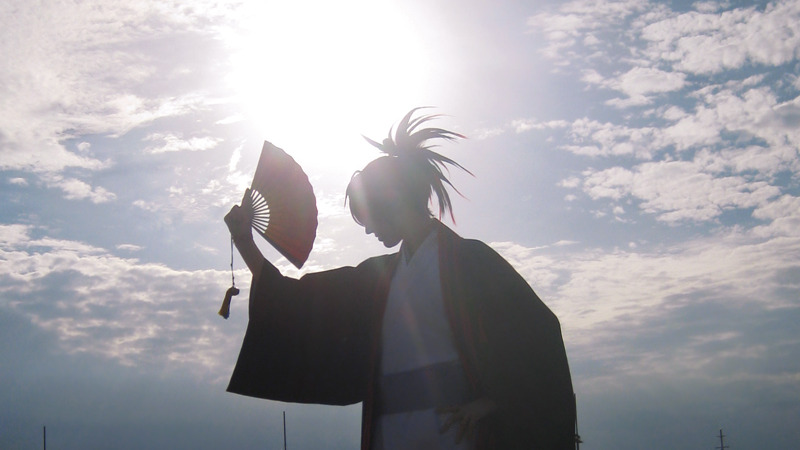
Ya… that
East Bluee Five Characters Design Sheet for the One Piece remake by Wit Studio
ONE PIECE Model Sheets for Roronoa Zoro’s katana
Wado Ichimonji (Kuina’s sword) Sandai Kitetsu (cursed sword from Ichimonji’s shop) Shusui (21 O Wazamono / Ryuma’s sword)
fyi
this post has been up for five hours and has two notes. i think tumblr shitcanned it because it has pictures of women wearing bras on it. very cool. no censorship message, just vanishing it
AHHHHHH someone put all the info from the now-extremely-hard-to-read, 10+ year old bra post into one nice infograph! THAT POST WAS MY BOOB BIBLE. Yay Boob New Testament!
FUEL photographed by ALBINOHECTOR with jlojosh and albinohector
motion capture actress 曦曦鱼sakana shows how to move in games
motion reference by 空翻老师·吕小布
vintage dress with popular xianxia style hanfu elements (lots of striped fabric)
Tessa Virtue and Scott Moir || Pyeongchang 2018 Free Dance
Feet + shoes reference by http://kitasite.net/
A few years ago, Folkwear had a yukata pattern that has since been discontinued. Before it was discontinued, I bought the pattern and now that I’ve scanned it, I’ve decided to upload it here. It can be a bit confusing at first, but once you get the idea, you will find that yukata are very easy to make. This pattern is also really easy to modify.
Can you do a tutorial on drawing knight armor? Both for male and female bodies, please.
for learning to draw armor i’d use a similar approach to the one i used for drawing swords!
again, there are two main things i’d suggest focusing on:-studying the different parts of an armor and how they workand-visualizing the armor as 3d shapes
i found some sites that go over things like armor parts and their functions here and here, a lot of nice photo reference here, and a bunch of labelled diagrams on google images
i couldn’t find any clear image reference for how medieval armor is layered but you can see that in this video of a guy getting armor put on
basically though i think its a bit like this:
there is a lot of liberty you can take with the details, shapes, and proportions etc, (also remember, medieval europe isn’t the only era armor comes from!) so you can use that to communicate things like the time period and culture the armor is from, the personality of its wearer, etc.
with simplifying armor into 3d shapes i’d basically just use a regular human body as a base. having a decent grasp of anatomy really helps with this i think
there is technically little or no difference between actual male/female armor, from the way i understand things at least (armor is just armor after all), but you can take a look at this post of mine for strategies you can use to make armor look more masculine or feminine
and then of course there’s that boob plate thingthere are reasons why those don’t really work in real life but you could always pull out the artistic liberty card so

Kimono drawing guide ½, by Kaoruko Maya (tumblr, pixiv, site). Booklet is available in pdf for ¥ 900 here.
Here you can see:
- female kimono and yukata (note how the juban underwear peeks when in kimono + how belts differ)
- male yukata and kimono (note how the juban underwear peeks when in kimono)
- dressing up: male (kimono is not closed yet) and female (kimono closed with datejime belt and ready to put on obi)
- differences between female and male kimono once dressed (note how the collars and belts set)
- common drawing mistakes (compare with previous picture: shoulders lines are too defined, there is a double hem, collars are narrow, belt is not at the right place etc)
- women back collar (the lower the sexier) and men back collar (close to the nape)
- back and sleeves differences between men and women
- collars and sleeves and view of how kimono drapes around body
- Furisode back (long sleeves kimono) and formal furisode obi knot example
DIY Aluminium Calligraphy Pen
You’ll need tape, scissors, knife, disposable chopsticks, empty aluminium can, stapler and ink.
Calligraphy Pen for Gothic: cut the aluminium into two pieces like above and tape it on chopstick, then Staple the aluminium.
Medium Point Calligraphy Pen: Fold a piece of aluminim, and cut it like picture above. Then tape it on chopstick.
Fine Point Calligraphy Pen: Fold a piece of aluminim, and cut it like picture above. Then tape it on chopstick.
Now enjoy it :)


ARE YOU FUCKIN SERIOUS I’VE SPENT SHIT TONS OF MONEY ON CALLIGRAPHY PENS FOR ART AND YOU’RE TELLING ME I CAN MAKE MY OWN FOR LESS THAN 4 FRIGGEN DOLLARS??? THIS IS BULLSHIT MY ENTIRE ART LIFE IS A LIE


